Why was OSIRIS made?
Honors College Project
OSIRIS was completed to fulfill HNR 499 credits at Grand Valley State University's Frederik Meijer Honors College.
As a former BMS 309 student at GVSU, I will be the first to admit that the study resources for the bone unit were lacking in some areas. For example, due to the fragility and value of authentic human bones, it makes sense that they were forbidden from leaving the classroom itself. However, this left students to flounder in the anatomy tutor lab with plastic bones, which often lacked the necessary detail to thoroughly study specific features.
OSIRIS fills an educational need
There are other online resources available to students, but the 3D bones in these programs are often sub-par, and also lack appropriate detail (they're too "clean"). Any other relatively viable programs are stuck behind paywalls, which any college student will acknowledge is like pulling teeth (no pun intended).
These issues were further amplified in the wake of the COVID-19 pandemic, where there is a genuine need for precise at-home study tools.
GVSU makes OSIRIS Possible
Grand Valley State University gives pre-med and pre-dental students an amazing opportunity to get a head start on their anatomy knowledge by being one of the few universities in Michigan to offer a cadaver lab.
This website aims to be a helpful study tool for some of the bones GVSU students taking any anatomy course will need to know the features of.
The 3D Scanning/Modelling Process
The Scanner
In order to create 3D scans of real bones, I used a Creality Ferret 3D Scanner (Pictured Below).
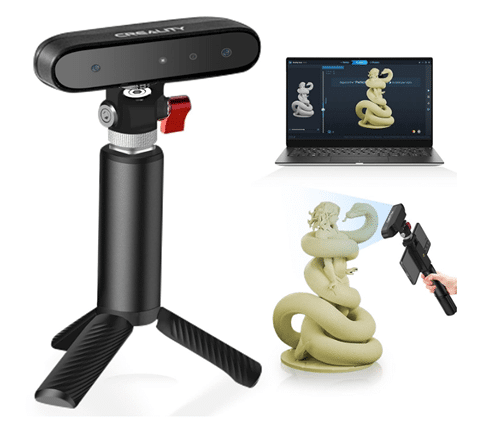
Trial and Error
It was quite a process to understand the quirks of the Creality scanner. Some bones were too shiny or too small, and the scanner couldn't quite pick up on the fine details. Printing out reference targets somewhat alleviated the issue, but this project certainly tested the upper limits of this scanner.
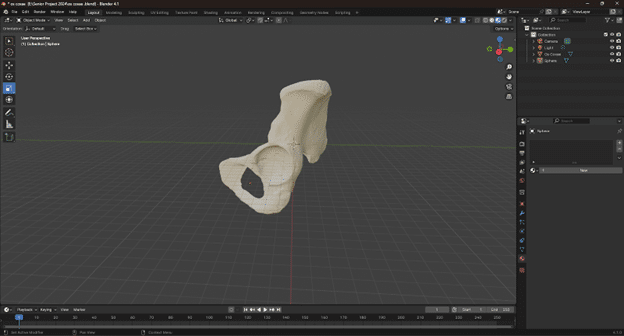
3D Model Development - Blender
Pictured Below: A Blender window. After bones were scanned, they were processed using Blender to smooth edges and remove blemishes.
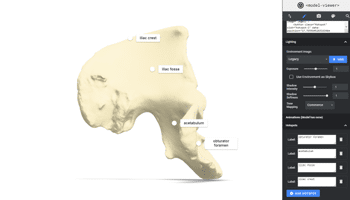
3D Model Development - ModelViewer.dev
Pictured Below: ModelViewer.dev. After Blender, I used ModelViewer.dev to label each feature on the bone. A code "snippet" was produced, which was inserted into the back end of the website.
The Web Design Process
(Outdated, the site's appearance and functionality got a facelift!)
Acknowledgement
Special thanks to Kavin Venkat for giving me invaluable guidance and assistance on the web design process.
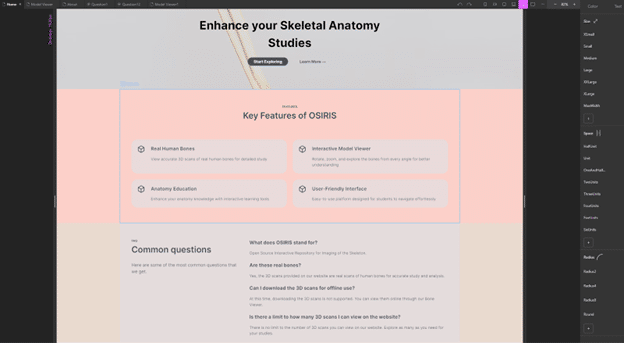
The Front-End
Pictured Below: Teleporthq, the online tool used to design the appearance/layout of the website. We could download all the code for the website with the click of a button when we were done, and could design templates to use for every bone to keep everything consistent.
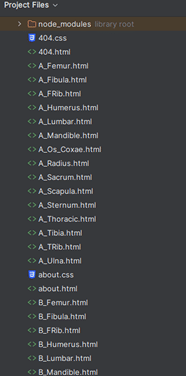
Organization
Pictured Below: A list of some of the files making up the OSIRIS website. Each bone was put on a template page we designed and an "A" (labeled) version and "B" (unlabeled) version was made.
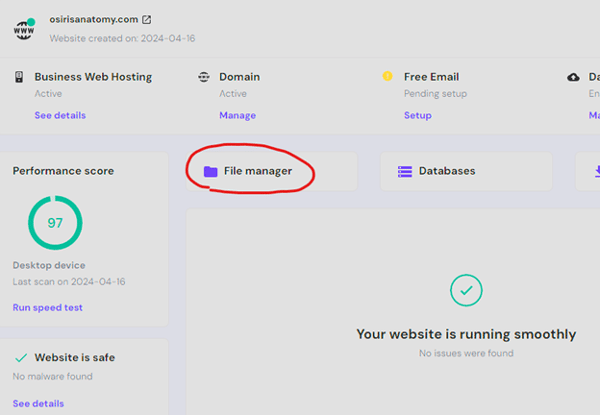
Web Hosting
Pictured Below: The Hosting panel. Once every bone was accounted for, we used Hostinger to get the domain name "osirisanatomy.com" and just uploaded every file into the file manager.